

Getting hands on with focaccia
Jump to Recipe Print RecipeIntroduction to the perfect focaccia:
We’re literally going to be diving hands first into into the delightful world of focaccia – a classic Italian bread that brings joy to any table. No fancy titles or aspirations needed; just a passion for creating delicious bread right in your own kitchen. In this comprehensive guide, we’ll explore the step-by-step process of crafting the perfect focaccia from scratch.
1. Getting the Basics Right: Ingredients and Their Role
Let’s start with the fundamentals – a few simple yet crucial ingredients:
- Flour: A good quality bread flour is important, not just for its higher level of gluten content but also its flavour. Do not attempt this recipe with plain flour. Any americans visiting should know that this recipe will just about work with all-purpose flour because of the long overnight ferment. This gives much greater time for the water to be absorbed and the gluten to develop. If you want to know more about the differences between flours check out this useful article.
- Yeast: The magical ingredient that makes your dough rise; you can use fast action yeast directly, or by activating dried yeast in the ukewarm milk for 10 minutes before adding them both together to the bowl.
- Olive Oil: A key player, lending its rich flavor and moisture to the focaccia. The water content of the bread will stop your olive oil overheating whilst cooking which means it retains its flavour profile very well. As such use a good quality extra virgin olive oil for the best results as with so few ingredients this is definitely a quality in quality out type of recipe.
- Salt: Not just for taste but also to regulate fermentation and provide structure to the bread. Inside the dough cooking salt is fine – you will not be able to tell the difference. However, I always use Maldon’s sea salt flakes to sprinkle over the dough for the perfect focaccia crust.
- Toppings: The base recipe here is incredible but it’s also very versatile. Get creative by adding olives, tomatoes, caramelised onions, roasted peppers or anything that tickles your taste buds!
2. Mastering Folding Techniques
Achieving the perfect texture requires some kneading finesse:
- It’s all in the mix: As the dough is a high hydration recipe mixing the dough is very simple. We combined all the ingredients and mix until well combined. We don’t want to see any little lumps of yeast or pockets of flour. I use a silicon spatula for mixing high hydration doughs but you could also use a dough hook on your mixer for a few minutes to combine.
- Gluten development: Once the dough is combined we’ll be placing it in the fridge for at least 12 hours. This allows the bread flour to become hydrated and the gluten to develop. We can aid gluten development by stretching the dough before we turn it out ready for the final proof. I favour an envelope fold technique. With wet or oily fingers I pull from the dough from the furthest edge towards me to the other side of the bowl. I then rotate the bowl 90 degrees and do the same thing again. I do this twice more so that the dough is stretched over itself much like an envelope.
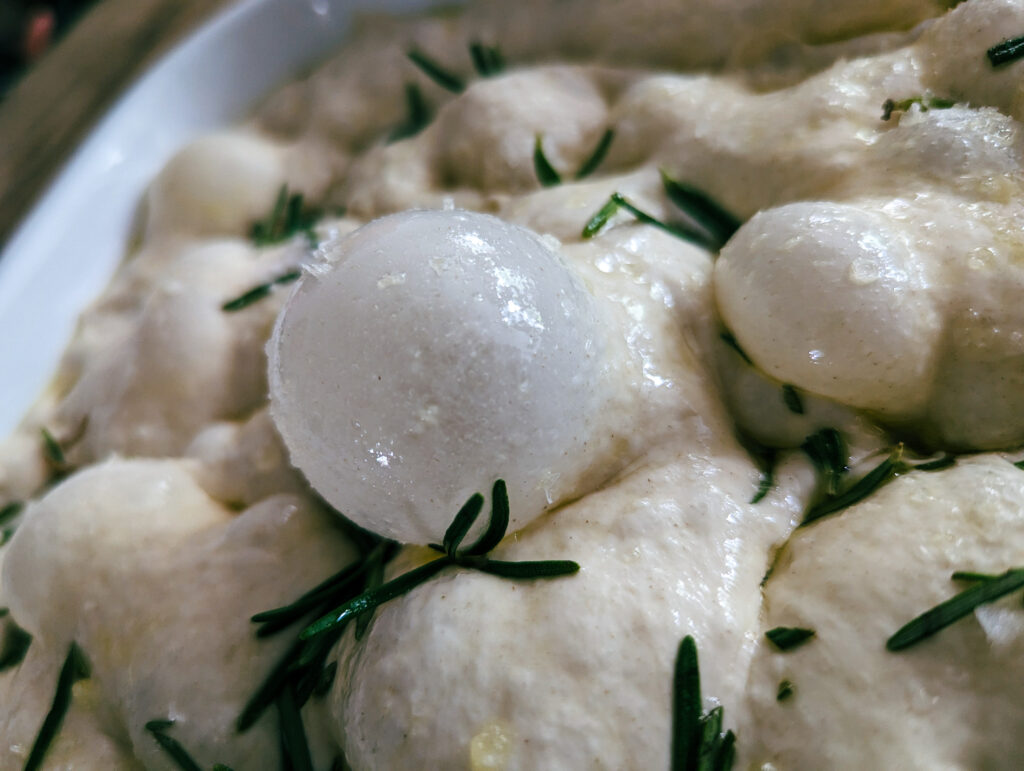
- Windowpane Test: To check if the gluten is sufficiently developed, take a small piece of dough and stretch it between your fingers. If it forms a thin, translucent windowpane without tearing, you’re on the right track! You will also see this windowpane effect in the bubbles that have formed across the surface overnight.
3. Patience is a Virtue: The Art of Rising
Give your dough the time it needs to rise to perfection:
- First Rise: Where as most recipes encourage you to find a cozy spot for your dough to rest away from drafts, as in my plum and almond roll recipe, we’ll be placing this dough to rise very slowly in the fridge. Cover it with a damp cloth, and let it rise for at least 12 hours, the dough will likely triple in volume in this time so be sure to use a bowl that can accomodate it.
- Second Rise: After we remove the dough from the fridge, stretch it and then split it in two into our baking pans. We then allow it to rest for another 4-6 hours before adding our desired toppings. This step contributes to that lovely, airy texture.
4. Tantalizing Toppings: Customize Your Perfect Focaccia
It’s time to add a personal touch with delectable toppings:
- Rosemary and Sea Salt: A timeless favorite and the recipe featured below. Drizzle good quality extra virgin olive oil, sprinkle sea salt, and adorn with fresh rosemary leaves.
- Cherry Tomatoes and Basil: A burst of freshness. Halve cherry tomatoes, gently press them into the dough, and sprinkle torn basil leaves.
- Olives and Red Onions: A Mediterranean twist. Add sliced olives and thinly sliced red onions for a flavor-packed experience.
5. Baking Brilliance: Secrets to a Perfect Crust
The final act – baking your focaccia to perfection:
- Preheating the Oven: Preheat your oven to 220°C (425°F) before baking. A hot oven ensures that crust forms beautifully.
- Adding Steam: For a crust that’s crisp and golden, place a shallow pan filled with hot water on the oven’s bottom rack while the focaccia bakes on the center rack.
- Baking Time: On average, bake for 20-25 minutes, or until your focaccia boasts a golden hue.
6. The Finishing Touch for perfect focaccia
To complete your masterpiece:
- Infusing with More Olive Oil: As soon as your focaccia emerges from the oven, drizzle a bit more olive oil on top. This adds a final touch of flavor and keeps the crust tender.
Conclusion: Your Focaccia Success Story
Congratulations, with the knowledge of essential ingredients, kneading techniques, rising tips, topping ideas, and baking secrets, you’re now well-equipped to create the perfect focaccia. Embrace the joy of baking, experiment with toppings, and share your creations with friends and family. This recipe never sticks around for long in my family and I’m sure it won’t in yours either. Congratulations on creating the perfect focaccia.
Rosemary and Sea Salt Focaccia
Course: MainCuisine: ItalianDifficulty: Intermediate24
servings10
minutes25
minutes300
kcalIngredients
900ml Warm Water
1kg Strong Bread Flour
15g Quick Yeast / Easy Bake Yeast
20g Salt
A drizzle of olive oil
- Toppings
4 Sprigs of Rosemary
4 tbsp of Extra Virgin Olive Oil
Flaky Sea Salt (Maldon)
Directions
- Pour the warm water into a large mixing bowl.
- Add the bread flour, yeast and salt to the bowl.
- Using a silicone spatula, mix the ingredients together. As the water is warm and plentiful it should mix easily and we’re looking to distribute the yeast and salt to ensure all ingredients are properly combined.
- Once combined, ensure sides of bowl are scraped down and form the dough into a rough ball shape.
- Drizzle the dough with a little olive oil to coat the surface. This will help stop the top of the dough drying out in the fridge.
- Cover the bowl with either cling film, a shower cap or a well secured damp tea cloth – I prefer to use a tea towel as it reduces my reliance on single use plastic. Place the bowl in the fridge for between 18 and 24 hours.
- The next day, remove the dough from the fridge. It will have a flat but bubbling surface. Oil your hand a little and stretch the dough from the edges over itself, rotate 90 degrees and pull from the edge and stretch again, do this twice more until you have created a sort of envelope.
- Prepare your baking tins, I used two from my falconware enamel bake set, one that was 34cm wide and one that was 31cm (the smaller dish gives a deeper focaccia). They should be buttered and oiled well, alternately or in addition, you can line the tray with non-stick baking paper.
- Divide the dough in two in the bowl. I do this by creating a scissor with my thumb and forefinger and “snipping” it right the way through.
- Place the two dough halves in their respective baking tins.
- Add a drizzle of oil and leave to proof uncovered for a second time for 4-6 hours. As we stretched the dough already, and because of the high hydration, the dough will spread out into the dish and form large air pockets.
- Turn on your oven and heat to 200C or 180C for fan ovens.
- Once the dough has doubled in size drizzle it with more oil and nudge the dough a little to ensure it has filled the tin. Be careful as we don’t want to lose the beautiful air pockets that define focaccia.
- Gently strip the rosemary from its stem and if you like, give it a little chop.
- Drizzle a little more oil onto the focaccia dough and sprinkle over the rosemary.
- Oil your fingers and using four fingers push down through the dough to the bottom of the tin. Do this all over the surface several times to create dimples. Some of the air bubbles might pop but others will expand or join as you manipulate the dough.
- Sprinkle over a goodly amount of sea salt grinding it gently between your fingers. Focaccia is defined by its salty oily crust so don’t be mean with the salt but adjust the amount according to taste.
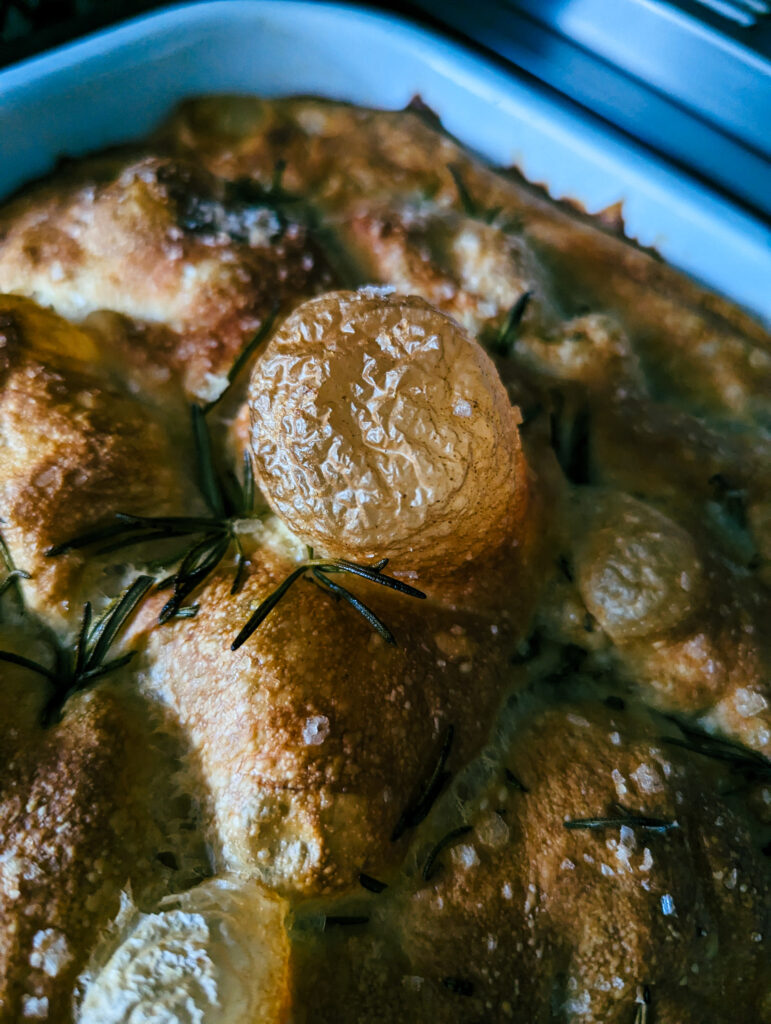
- Place in the oven for 25-30 minutes. The top should be a rich golden brown. If it is still light in colour cook a little longer.
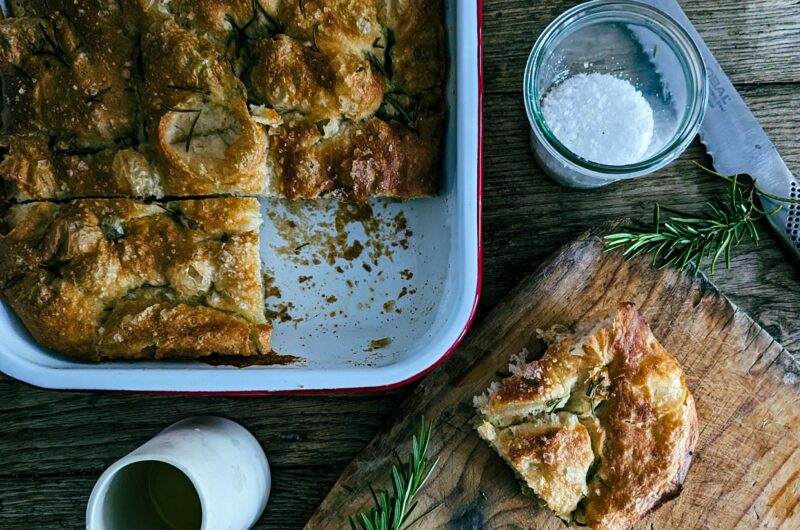
- Carefully remove the focaccia from the tin and allow to cool a little on a cooling rack.
- Serve!
Notes
- This recipe makes two good sized focaccia. You can halve it if you only wish to make one.