Introduction
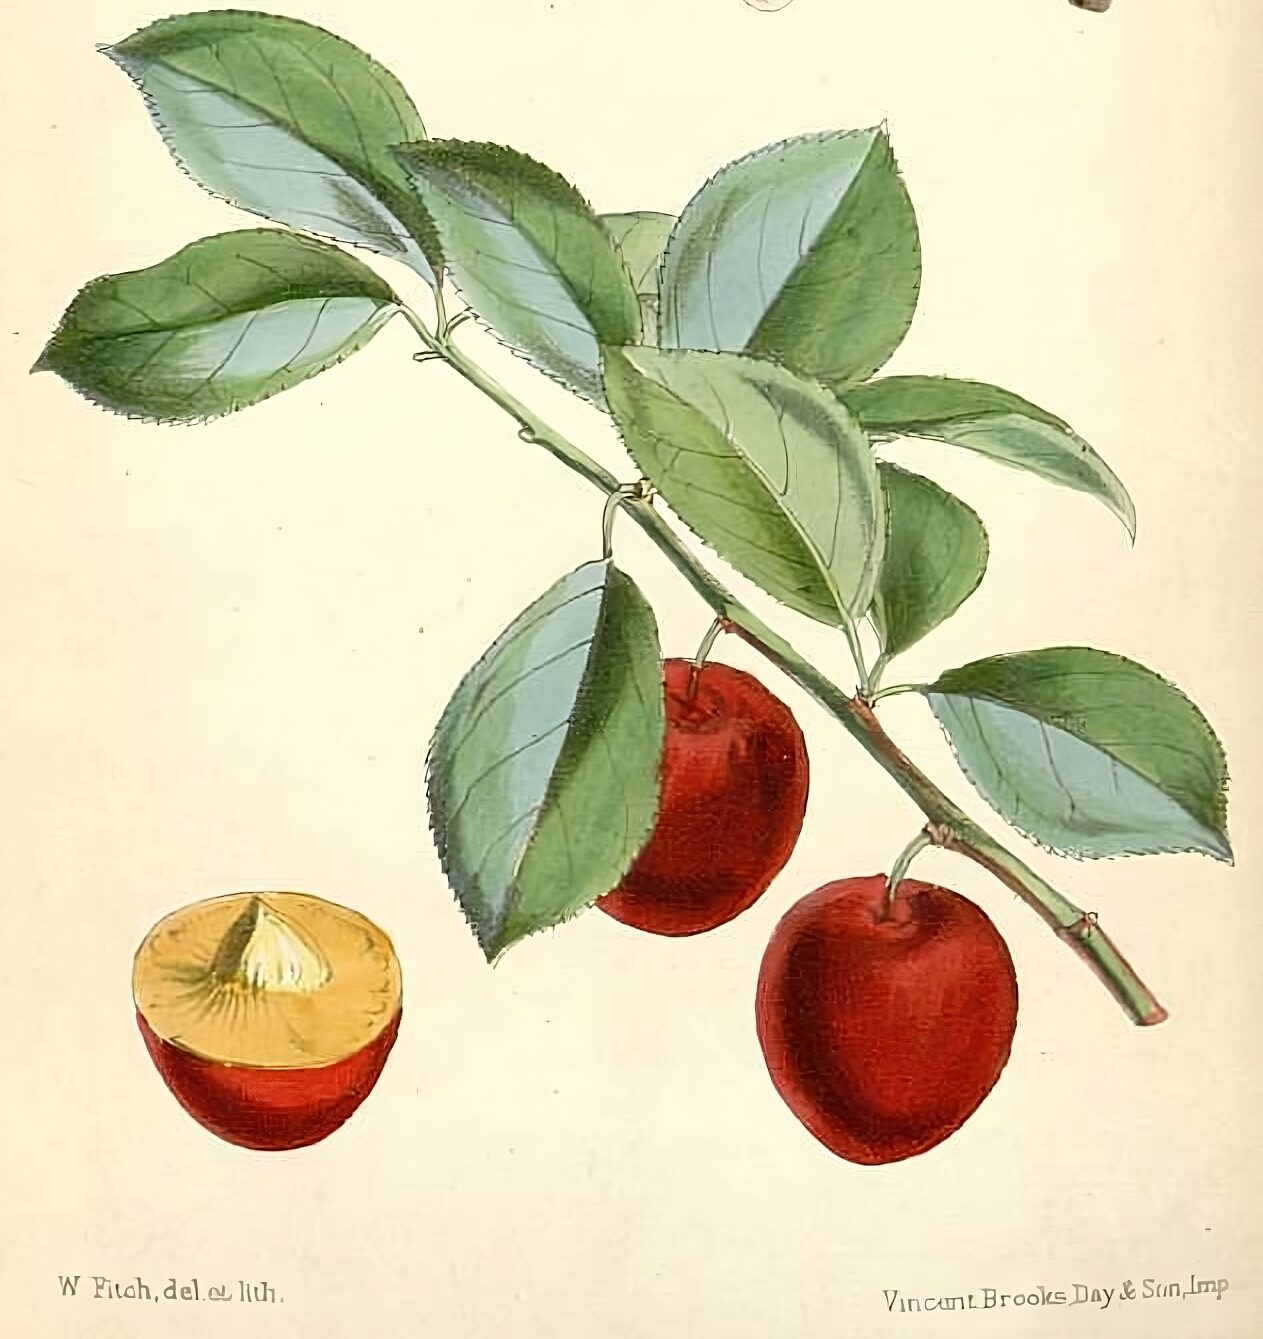
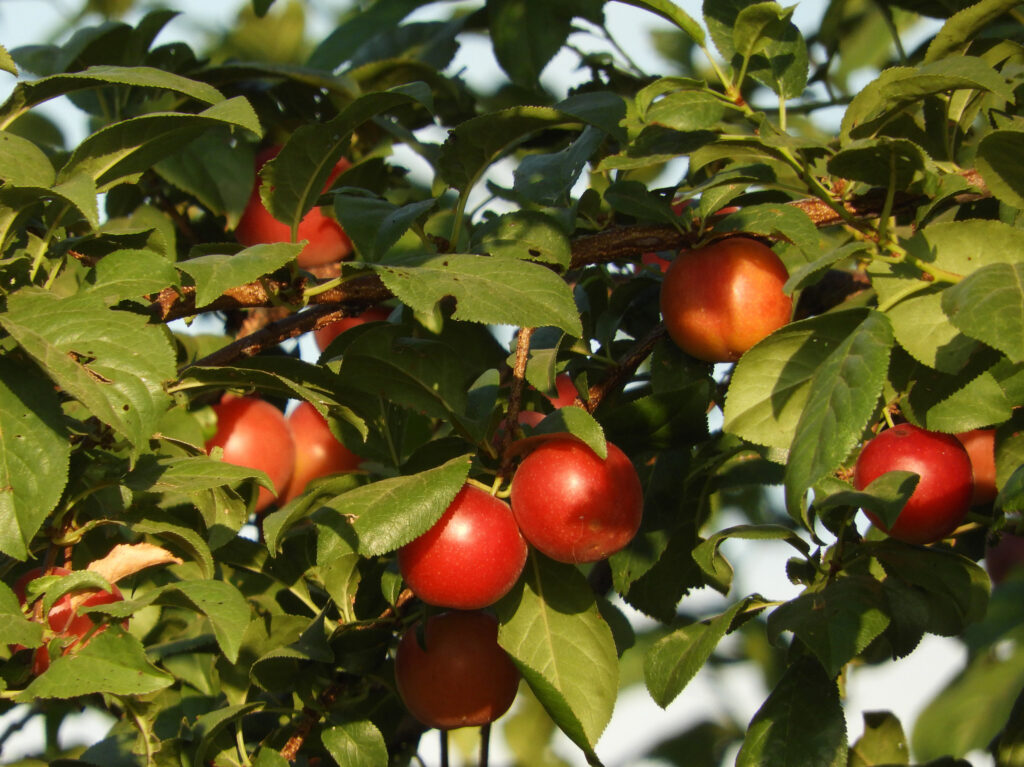
Cherry plums are a small, sweet, and tangy fruit that tastes like a plum but is the size of a large cherry. They are native to Asia and Europe, and have been cultivated for centuries. Cherry plums are a versatile fruit that can be eaten fresh, cooked, or made into jams, jellies, and preserves. They are also a good source of vitamins A and C.
A Brief Background to Cherry Plums
Cherry plums are scientifically known as Prunus cerasifera. They are members of the Rosaceae family, which also includes cherries, plums, peaches, and apricots. Cherry plums have been cultivated for millenia.
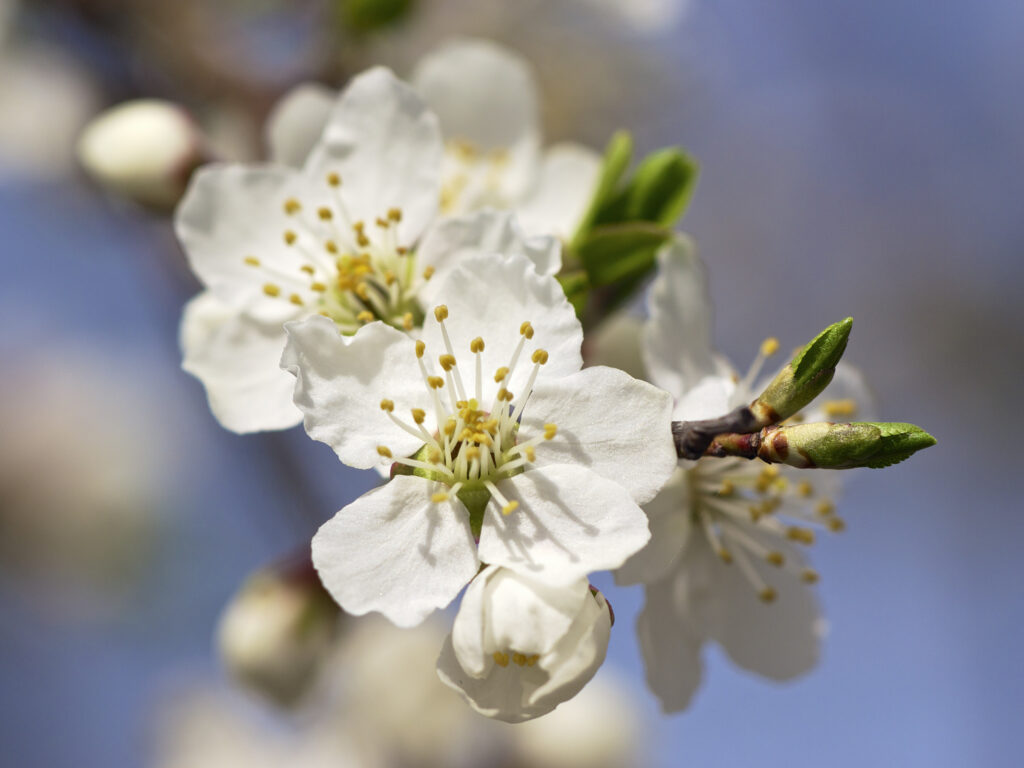
The first cherry plum trees were likely created in China or Japan over 2,000 years ago and many cultivars exist. They’ve been naturalised in Britain for some time and are popular for their blossom. Cherry plums are some of the first to flower often appearing in late February before their leaves form. Historically they’ve been grown ornamentally on their own or as part of a fruiting hedge. I’m lucky enough to have a row of them at the side of the house forming a hedge with my neighbour. I do not know when they were planted but the house was originally surrounded by orchards to the north and east.
Planting Cherry Plums
The best time to have planted fruiting trees is several decades ago. The second best time to plant them is now so that you and future generations can enjoy their fruits. Cherry plums are relatively easy to grow. They prefer full sun and well-drained soil. Cherry plum trees can be planted in the spring or autumn. When planting, choose a site that is protected from strong winds. Dig a hole that is twice as wide as the root ball of the tree. Backfill the hole with soil, tamping it down gently. Water the tree well after planting.
Culinary Uses and Recipe Suggestions
Cherry plums can be eaten fresh, cooked, or made into jams, jellies, and preserves. They are a good source of vitamins A and C.
Fresh Salads: Add sliced cherry plums to vibrant summer salads for a burst of color and flavor. Their natural sweetness pairs well with greens, nuts, and cheeses. Consider combining them with arugula, goat cheese, toasted almonds, and a light vinaigrette.
Jams and Preserves: Cherry plums make excellent candidates for jams, jellies, and preserves. Their high pectin content makes them ideal for setting naturally. Experiment with different flavor combinations by adding herbs like lavender or spices like cinnamon.
Baked Goods: Incorporate cherry plums into your favorite baked goods for a delightful twist. Add them to muffins, cakes, tarts, or pies for a burst of fruity goodness. You can also consider making a cherry plum crumble or a galette for a rustic and comforting dessert.
Chutneys and Sauces: Create a tangy and flavorful chutney or sauce with cherry plums to accompany savory dishes. They pair well with roasted meats, cheese boards, and even grilled vegetables.
Beverages: Transform cherry plums into refreshing beverages such as fruit-infused water, homemade lemonade, or fruity cocktails. Their vibrant color and zesty taste will enhance any drink. Our Rhabarberschorle recipe can easily be adapted for a delicious plum syrup.
Conclusion
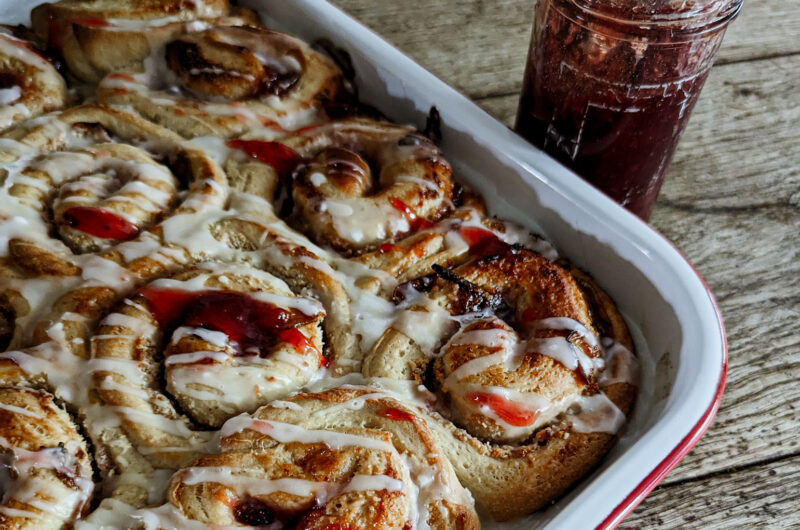
Cherry plums are a delicious and versatile fruit that can be enjoyed in many different ways. With their charming appearance, sweet and tangy taste, and versatility in the kitchen, cherry plums are a true treasure among fruits. So why not embark on a delightful journey with cherry plums and experience the joy they offer, from your garden to your table? My favourite way to use cherry plums is to combine them with almonds and the most delicious and simple brioche rolls.
Cherry Plum Rolls with Almond drizzle
Course: SnacksDifficulty: Easy12
servings20
minutes20
minutes375
kcal1
hour10
minutesIngredients
- Dough
200g Full Fat Milk
1 Large Egg
600g Strong White Bread Flour
12g Dried Yeast
50g Caster Sugar
10g Salt
200g Unsalted Butter softened.
- Plum filling
750g Cherry Plums (or regular plums)
280g White Sugar- Almond Drizzle
150g Icing Sugar
A few drops of Almond Extract
20ml Water
Directions
- Begin by removing the stones from the plums. I used cherry plums which are smaller than victoria plums and much smaller than those bought from super markets although all of them and suitable for this recipe. I cut around the stone using a sharp knife and then twisted the fruit to separate one half. The other half that had the stone in i removed by pinching it out. Given the size of cherry plums you could also press the stone out using a cherry pitter. If you’re using larger plums, cut them in half, remove the stone and cut them in half again.
- Add the plums and any juices on the chopping board into a large glass jar. Add the 280g of white sugar and stir or shake to distribute the sugar. Leave overnight in a cool place.
- Empty the contents of the jar into a saucepan and bring to a boil before reducing and allowing to simmer for 25-30 minutes. The mixture should become noticeably thicker and glossier. It is ready when it coats the back of a spoon. When the jam is ready a small dropped rapidly cooled on a fridge cold metal spoon or sauce will ripple when pushed with your finger. Allow to cool.
- Meanwhile, whilst the jam is simmering. Make the dough. Place the milk and eggs in the bowl of your stand mixer, then add the flour, yeast, butter, caster sugar and salt and put on a slow speed with a dough hook to bring the ingredients together.
- After 4 minutes in the stand mixer, scrape the bowl down. Return to medium speed for 10-12 minutes. The dough should be coming away from the bowl cleanly and will be making a slapping sound.
- Remove the dough from the bowl and form it into a ball, add it to a clean bowl and cover. Leave the dough to double in size. This should take around 45 minutes but if your room is cooler then it will take longer.
- Very lightly dust your work surface and tip out the dough on this. Flatten and then roll out the dough until it is the size of an A3 sheet of paper (30cm x 42cm).
- Pour over about half of the plum jam and spread in an even layer. If there are any bare patches add a little more jam.
- Sprinkle over the ground almonds in an even layer.
- Starting with the wide edge closest to you, roll the dough into a fairly tight roll. You don’t want to make it so tight that the jam is pushed out the ends but similarly you don’t want to make it too loose as the roll will lose its shape when cut.
- Cut the roll in half, then into quarters. Cut each quarter into three so that you end up with twelve evenly sized pieces. They will be approximately 3cm – 3.5cm thick.
- Add to a greased baking pan in a 3 x 4 pattern. I used the 34cm wide falconware enamel baking pan.
- Cover and allow to rise until doubled in size. This should take about 30 minutes. Set your oven to 170C or 150C for a fan assisted oven.
- Bake for 20 minutes The tops of the buns should be golden brown. Allow to cool for 10 minutes.
- Mix a few drops of almond extract into 150g of icing sugar. Add enough water to form a pourable icing. If it is too thick add a few more drops of water. If it is too runny, add some more icing sugar.
- Drizzle over the almond icing whilst the buns are still warm.
- The buns are most delicious whilst still warm so you can serve them as soon as you have added your drizzle although the remain soft and delicate once cold. Store in an airtight container and consume within 2 days (if your family is like mine they won’t make it to the evening anyway).
Notes
- Be careful not to use a baking pan that is too big as the rolls will spread sideways. Similarly too small and it will force the rolls upwards. They should barely touch when first added to the pan.
