Tips, Tricks, Lessons-Learned, and so much more
I’ve always loved animals, and for a while now, I’ve been thinking about trying something new, incubating duck eggs at home. I read lots of stories online and watched videos, and finally, I decided to give it a go myself.
I ordered a small batch of duck eggs from a kind breeder in West Wales. Her ducks are absolutely beautiful; you can see them on her website, and you can just tell how well she takes care of them. That made me feel good about ordering from her. When the eggs arrived by Royal Mail, I was so excited. I opened the box gently and saw them all tucked in safely. It felt like I was holding something magical, tiny eggs full of life and possibility.
Letting the Eggs Rest First
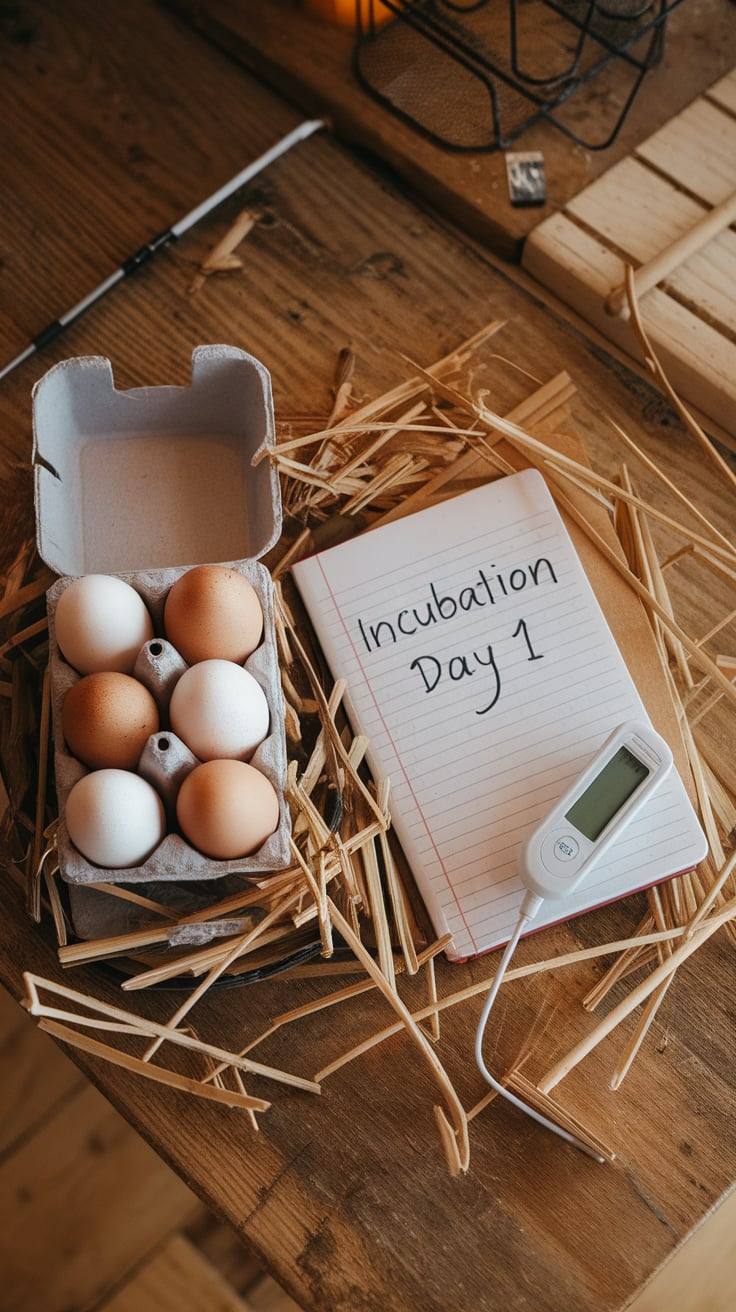
Before starting incubation, I was told to store the eggs pointy-side down for 24 hours. At first, I didn’t know why, but then I learned that this helps the inside of the egg settle after being shaken up during delivery. It also lets the little air bubble inside the egg move to the right spot, which is really important for healthy duckling growth.
Waiting 24 hours also gave me time to set up my incubator. I had bought one online, thinking it would be easy to use. But honestly, I was really disappointed.
My Incubator Wasn’t Great…
Right away, I noticed problems. The thermostat wasn’t accurate, and even worse, it wasn’t consistent. Sometimes it got too warm, and other times it was too cold. That really stressed me out, because duck eggs need a pretty steady temperature around 37.5°C (or 99.5°F).
I had a second thermometer that I put inside the incubator, just to double-check. I’m so glad I did because it showed me that the incubator’s reading wasn’t reliable at all. Most of the time, it was actually running too cool.
Then there was the humidity issue. Duck eggs need more moisture than chicken eggs, and my incubator didn’t have any way to control the humidity. There wasn’t even a way to measure it easily. I ended up adding little trays of water and using a sponge to try to boost the moisture inside, but honestly, it felt like guessing.
I started to worry that this wasn’t going to work. But I didn’t want to give up before even trying.

Setting the Eggs with Hope
After the eggs had rested for 24 hours, I gently placed them inside the incubator. As I set each one down, I gave it a tiny air kiss. It sounds silly, but it was my way of wishing them good luck. I wanted them to grow into happy, healthy ducklings, and this little gesture made me feel connected to them.
I made sure to place the eggs pointy side down, and I spaced them out so they weren’t touching each other. Every day, I checked the thermometer (sometimes many times a day), and I turned each egg gently by hand, at least three times daily. This step is super important, it keeps the developing embryo from sticking to one side of the shell.
Some days, I felt confident. Other days, I was full of doubt. But through it all, I kept doing my best, hoping that something wonderful was happening inside those eggs.
Learning as I Went
Even though things weren’t perfect, I realized that this whole journey was a learning experience. I didn’t have the best equipment, and I made mistakes here and there. But I also learned so much just by watching, reading, and paying close attention.
There were times I wished I had spent more money on a better incubator. But I reminded myself: this is my first try. Even if nothing hatched (though I really hoped they would), I’d still come out of this experience with new knowledge, new skills, and a deeper appreciation for how life begins.
A Few Things I Learned Along the Way
Let me share a few simple things I discovered during this journey. If you’re thinking about trying to hatch duck eggs yourself, these might help:
- Rest the eggs before you begin – Letting them sit for 24 hours (pointy side down) after delivery helps the air cell settle and improves the chances of a healthy hatch.
- Don’t trust your incubator alone – Always use a second thermometer inside to check the real temperature. Some incubators just aren’t accurate.
- Humidity really matters – Duck eggs need higher humidity, especially in the last few days before hatching. You can use trays of water or sponges inside the incubator to help.
- Turn the eggs regularly – If your incubator doesn’t turn the eggs automatically, you’ll need to do it by hand. Turn them at least 3 times a day.
- Stay patient and gentle – It’s easy to get stressed, especially if you’re not sure things are going right. But being calm and caring makes a big difference.
Some Questions I Had (Maybe You Do Too!)
How long does it take for ducklings to hatch?
Usually, it takes about 28 days. Some breeds might be a little faster or slower, but 28 is the average.
What’s the best humidity level?
Try to keep it around 55-60% for the first 25 days. Then, during the last 3 days (called “lockdown”), increase it to about 65-70%.
Is it bad if the temperature changes a little?
Small changes for a short time are okay. But if the temperature goes too high or too low for too long, it can harm the ducklings.
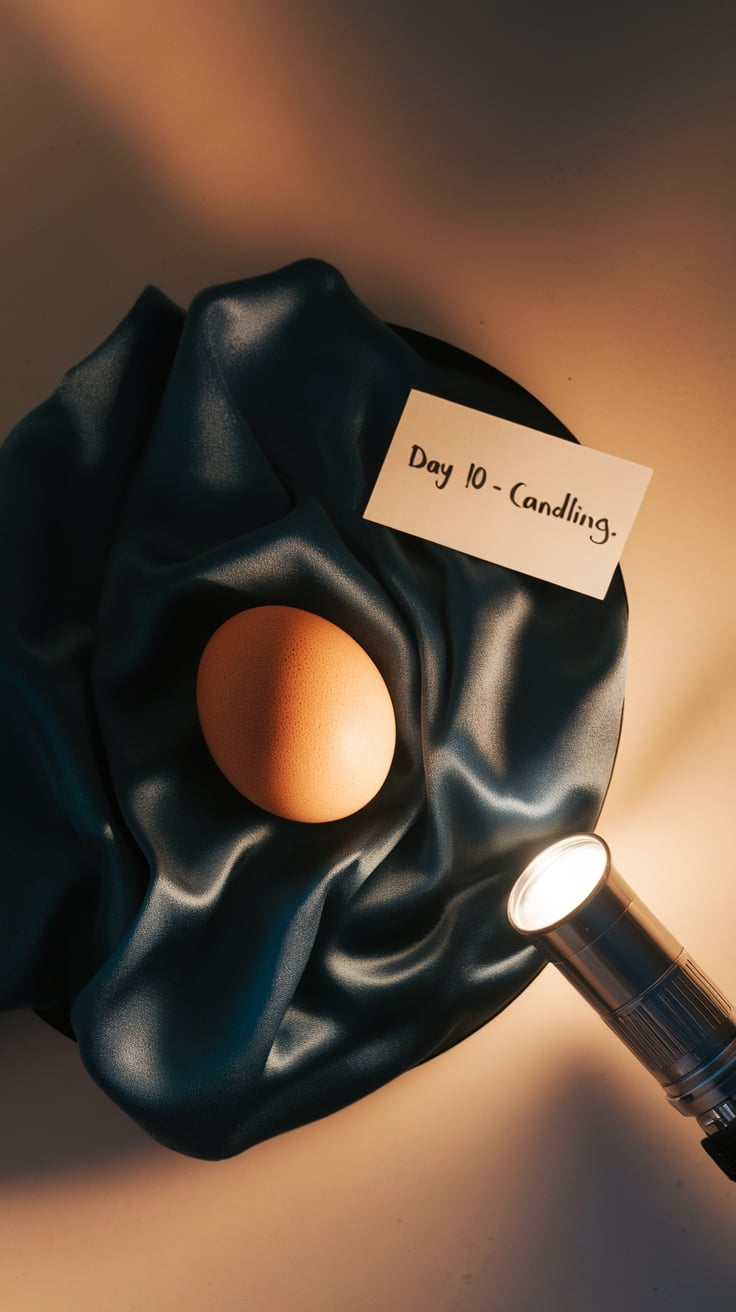
Can I check inside the eggs to see if anything is happening?
Yes! It’s called candling. Around day 7 to 10, you can shine a bright light through the egg in a dark room to look for tiny red veins or movement. Just be gentle!
Final Thoughts From Me
This was my first time ever trying to incubate duck eggs, and wow, it was emotional, exciting, and even a little scary. I didn’t have fancy tools. I didn’t know everything. But I had hope, curiosity, and a big heart full of love for these tiny, fragile eggs.
No matter what happens next, I’m proud of myself for trying. I’ve learned so much already, and I know I’ll be even better next time.
If you’re thinking about hatching duck eggs too, go for it! It’s okay if things aren’t perfect. Just care deeply, stay patient, and learn as you go. That’s what I’m doing.
And who knows? Maybe soon I’ll hear the sweet little peeps of baby ducklings in my home. And don’t forget to check my Homemade Garlic Spray.